Sunday 31 August 2014

Proud to be a new Design Team Member


I'm really proud to be a new member of 'Crafting When We Can Challenges'  Design Team 
and my first assignment is to make a card for
 challenge #77, use image from sponsor 'Sassy Studio Designs' 
Theme - Borrow a sketch.


I chose image 'Goldie Sassy' and here's the card I made:


As soon as I saw the image and her name I decided right away that I wanted to use  Black, Gold & Pink to live up to her 'Sassy' name, I wanted to make an opulent card with rich colours.


I used the following Spectrum Noir pens:
Dress/Shoes - IG5, IG7, IG9, CR3, CR4, CR5, CR6, CR7
Hair - GB1, GB8, GB10
Skin - TN1, FS7, FS6

I borrowed this sketch from  From the Heart Stamps  and I twisted it.


I used black papers & card from Kanban Ornate foil collection, pink card stock & 8x8 card from +HunkydoryCrafts 

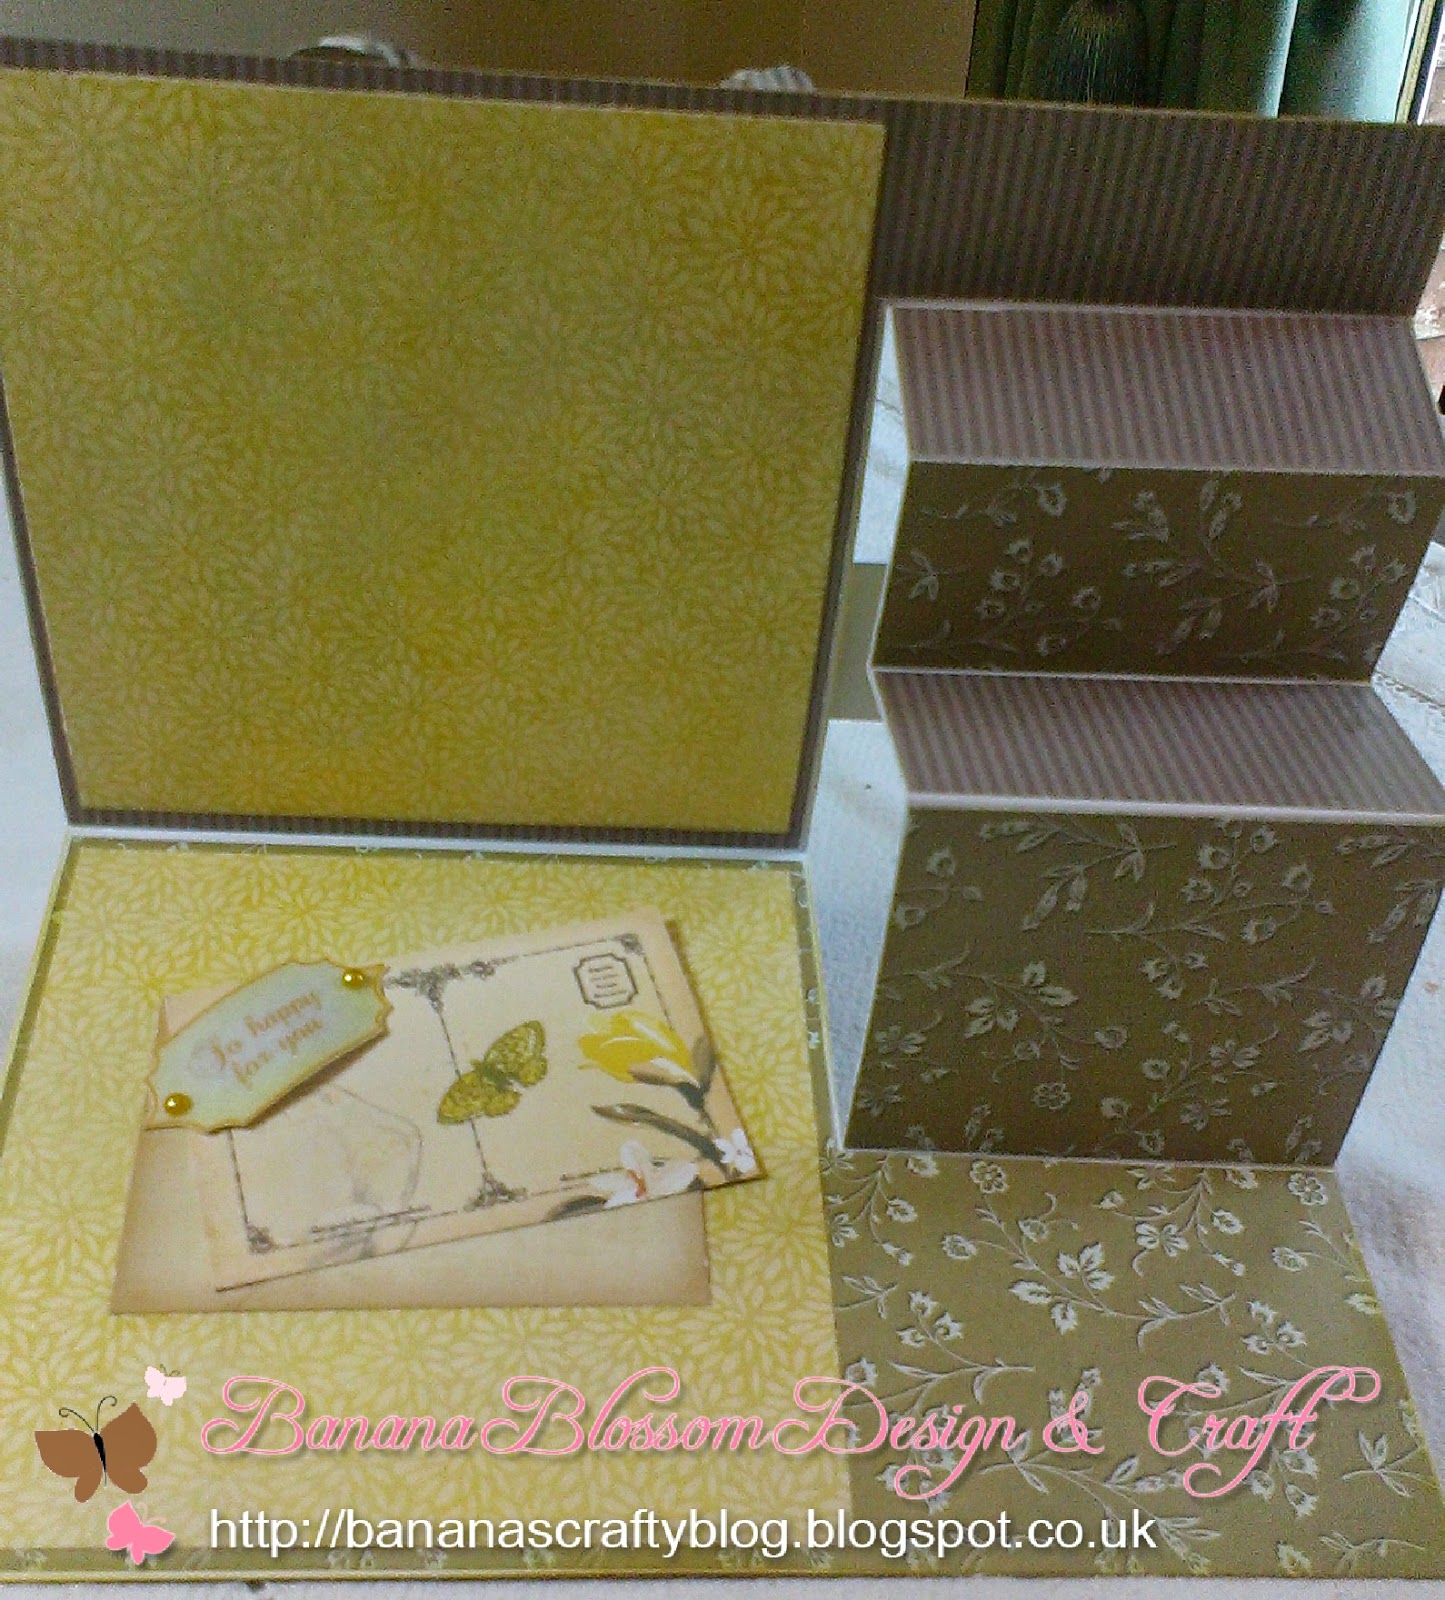
I like the inside of the card to be as beautiful as the front:


& Taa-Daah - finished card !!


I want to give a big thank you to Crafting When We Can Challenges for choosing me as one of their new design team members, and I'm looking forward to seeing all the wonderful entries.


I've entered this card in the following Challenges:

Glitter & Sparkle Challenges - Show Us Some Sass
Craft Girls Challenge 25 - Anything Goes


Saturday 30 August 2014

Bearly Mine Designs Design Team Call

Why I would like to join the design team at 'Bearly Mine Designs'


I love crafting, making cards, bags, tags & boxes, when I first started I used to make my own digital background papers using serif, long before digital crafting came along, so to find a company like 'Bearly Mine' who make some fabulous digital papers, is like walking into a sweet shop for me, and becoming part of the design team would be like being handed the keys to the chocolate factory.

I haven't had my blog up and running for long but I am really enjoying sharing what I make, entering competitions and sharing my ideas. I also love reading other blogs for new ideas & inspiration, as crafters there's always new techniques to learn and talented people to learn from.

I'm having trouble choosing my favourite project, as the one your making is always the new favourite, so this is my latest project :


Oh, and did I mention that Bearly Mine Designs have some adorable, completely scrumptious, up to the minute, beautifully designed digital papers that would be heaven to work with.


I have entered this card into the following Challenges:

My Besties UK Challenge - something Old Something New
(Old - Butterfly Embellishment, New - Sherri Baldy CD)
crafty girls challenge 25 - anything goes
outlawz friday colouring challenge - anything goes
the pink elephant challenge - anything goes


Thursday 21 August 2014

Want This Dress?

I coloured this beautiful image from +Saturated Canary  


I fell in love with this dress ! so much I coloured it twice then cut it out and added it to my original image with pinflair to give it dimension.


I used the following ingredients to make this lovely sidestepper card:

Image - Saturated Canary, coloured with Spectrum Noir
Card Stock - Hunkydory
Papers & Paper Flowers - Hunkydory Paper Pad All Occasions
Sentiments & Tags - My Craft Studio CD
Organza ribbon & pearls from stash

and Taah Daah ! Finished Card:


Hope you like it, Thanks for stopping by

X


I've entered this card into the following competitions:

Paper A la Mode over at The Outlawz Challenge - Theme Fashionista
Craft Girls Challenge - Challenge 25 Anything Goes


Wednesday 13 August 2014

I won my first competition

I can't believe that I have won a competition with my first entry, I won a site wide competition at outlawz challenges with this card.


So a big thank you x

Also thank you to Rick St. Dennis for my prize of 3 digi's.

Tuesday 12 August 2014

Handbag Tutorial


Finally as promised..........................


cut 2 pieces 6" x 5" - front & back of bag
cut 2 pieces 3" x 5" - sides of bag
cut 1 piece 3" x 7" - bottom of bag
cut 1 piece 6" x 6" - flap (trim to design)

         take the two 3" x 5" pieces, and place short sides against top of score board & score at half inch, 1 and half inch & 2 and half inch, then fold mountain, valley and mountain fold, as shown in picture....


...........then take the 3" x 7" card and score 1/2" on all four sides, then cut 4 corners off where the score lines cross, fold along score lines and burnish with bone folder for crisp folds, then add red tape as indicated in photo.


Now we start to put the bag together, join the two 6" x 5" pieces either side of one 3" x 5", attach the card up to the half inch score line on the 3" x 5" piece.


Next join the other 3" x 5" in the same way, either to the left or right side, I've put it to the right as you can see in the 2nd picture, I've tried to show in this picture how to attach the 7" x 3" piece which is the bottom of the bag, start by attaching the long side, then I fold the bag around the base removing red tape and sticking as I go.


You should end up with a basic bag shape like this.


Now for the flap, you can alter this to match your design as long as you keep it to 6 inches wide. I have scored my flap at 1 inch and 2 inches which gives me a 4 inch flap to open and close the bag, also it gives me a lovely large area to decorate. I have also punched two holes for the bag handle.


On other bags I have scored at 1 inch and 1 and a half inches, but because I am including matching cards in this bag, I wanted that extra half an inch to enable me to put more in the bag, the choice is yours.


So this is the finished bag which I have had lots of fun decorating, one tip is don't add your decorative papers to the reverse until you have attached the flap or you will have part of the flap hanging over your design.
I have made matching cards and envelopes because I had some gorgeous black and white papers..........


I have entered this bag into:

creative fingers challenge #45 - Black and ...............
crafters cafe blog challenge #75 - Use lots of layers


Just to show you can make them in any shape, size and colour ..................


Related Posts Plugin for WordPress, Blogger...